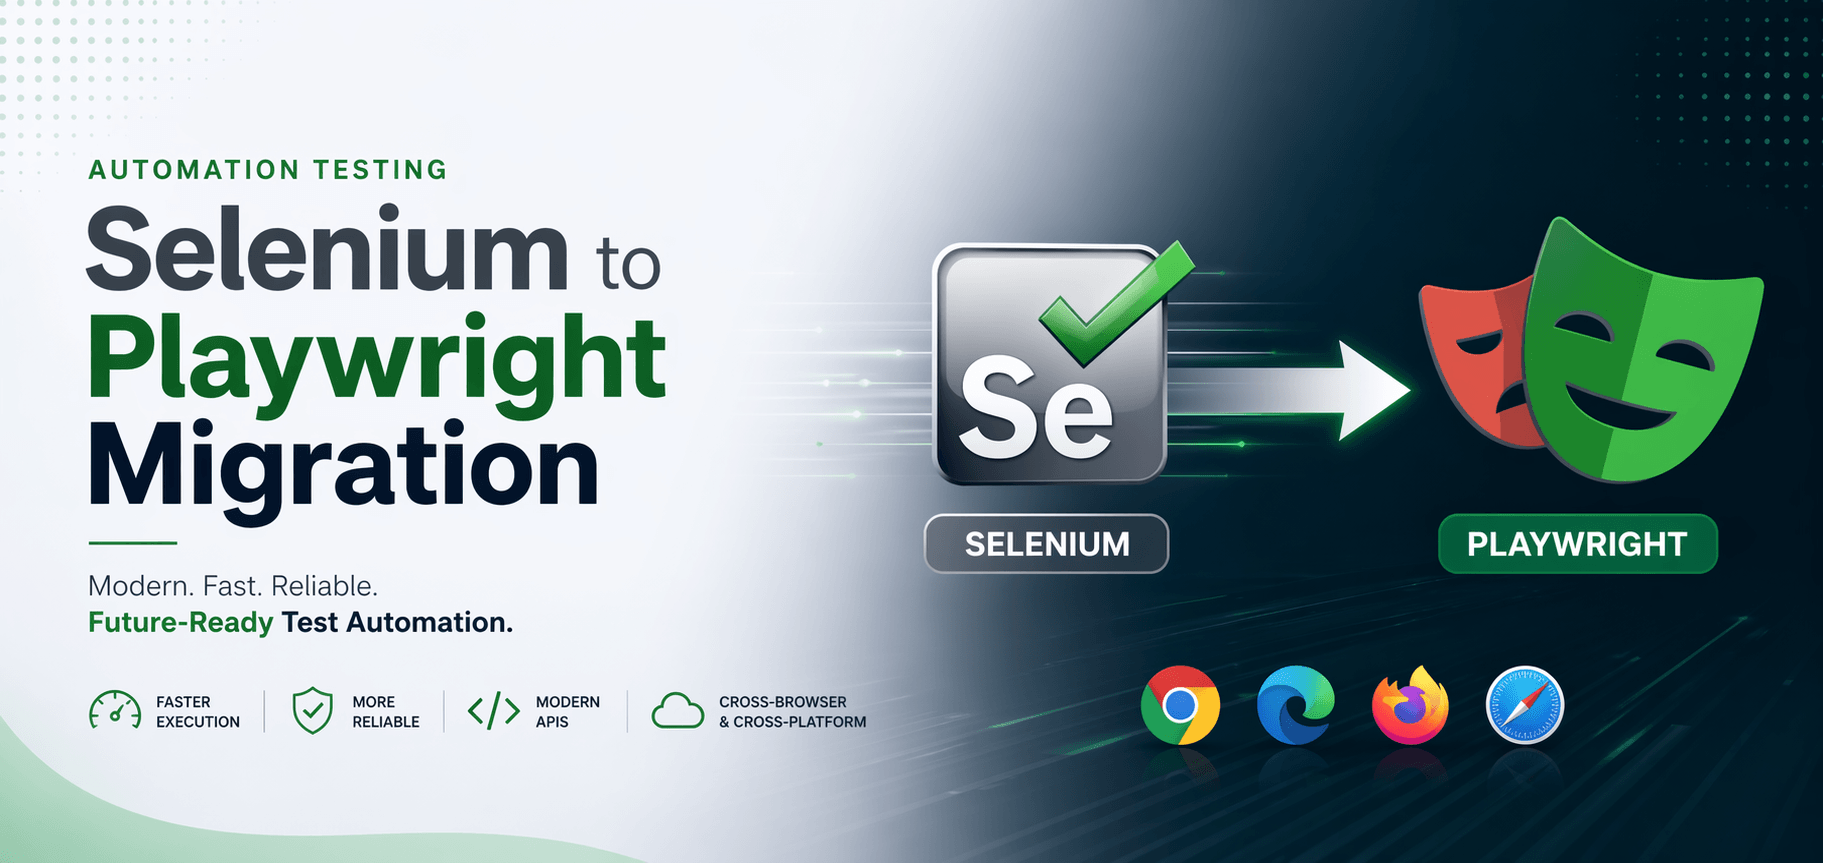
How to Migrate from Selenium to Playwright: The Complete Step-by-Step Guide (2026)
Introduction
Are you planning to migrate from Selenium to Playwright but don’t know where to start?
You are not alone. In 2026, Playwright users have officially overtaken Selenium users in the testing community. Most QA teams are now asking the same question — “How do we migrate from Selenium to Playwright without breaking everything?”
I have been working as an automation testing engineer, and in this guide I will walk you through a practical, step-by-step process to migrate from Selenium to Playwright. Whether you are a fresher or an experienced QA engineer, this guide will help you make the switch smoothly and confidently.
Let’s get started.
Why Teams Migrate from Selenium to Playwright in 2026
Before jumping into the migration steps, let us understand why this shift is happening across QA teams.
1. Auto-Wait Feature Playwright automatically waits for elements to be ready before performing actions. In Selenium, you had to manually add implicit or explicit waits everywhere. This single feature saves hours of debugging time every week.
2. Faster Test Execution Playwright runs tests significantly faster than Selenium because it communicates directly with the browser using the Chrome DevTools Protocol (CDP).
3. Powerful Built-in Features When you migrate from Selenium to Playwright, you get these features out of the box — no extra libraries needed:
- Screenshots and video recording of test runs
- Network interception and mocking
- Multiple browser contexts
- Mobile device emulation
4. Better Debugging with Trace Viewer Playwright’s Trace Viewer lets you see exactly what happened in a failed test — step by step, with screenshots. Selenium has nothing like this built in.
5. Actively Maintained by Microsoft Playwright is actively developed and updated by Microsoft. You can check the official Playwright documentation to see how frequently it receives improvements.
Before You Migrate from Selenium to Playwright — Things to Check
Before starting your migration from Selenium to Playwright, answer these questions:
- How many test cases do you currently have in Selenium?
- Are your tests written in Java, Python, or JavaScript?
- Do you have time to migrate all tests at once or will you do it in phases?
- Is your team familiar with JavaScript or TypeScript?
Pro Tip: Never try to migrate from Selenium to Playwright all at once. Start with a small module, learn the differences, then scale up gradually.
Step-by-Step Guide to Migrate from Selenium to Playwright
Step 1: Set Up Playwright in Your Project
First, install Playwright. Open your terminal and run:
npm init playwright@latest
This command will:
- Install Playwright automatically
- Create a basic folder structure for your tests
- Download browser binaries — Chromium, Firefox, and WebKit
If your team uses Java with Selenium and wants to continue with Java, use the Playwright Java library. Add this to your pom.xml:
<dependency>
  <groupId>com.microsoft.playwright</groupId>
  <artifactId>playwright</artifactId>
  <version>1.42.0</version>
</dependency>
Step 2: Understand Key Differences Before You Migrate from Selenium to Playwright
Here is a quick comparison of common Selenium vs Playwright code so you know exactly what to change:
| Action | Selenium (Java) | Playwright (Java) |
|---|---|---|
| Launch browser | new ChromeDriver() | playwright.chromium().launch() |
| Open URL | driver.get("url") | page.navigate("url") |
| Find element | driver.findElement(By.id("x")) | page.locator("#x") |
| Click element | .click() | .click() |
| Type text | .sendKeys("text") | .fill("text") |
| Wait for element | WebDriverWait + ExpectedConditions | Automatic — not needed! |
| Take screenshot | TakesScreenshot class | page.screenshot() |
| Close browser | driver.quit() | browser.close() |
The biggest change when you migrate from Selenium to Playwright is that waits are fully automatic. You can remove almost all your explicit wait code immediately.
Step 3: Start Your Migration from Selenium to Playwright with Smoke Tests
Do not migrate your entire regression suite on day one. Start with your smoke tests — the small set of tests that verify your application’s most critical flows.
Why start with smoke tests?
- They are fewer in number — easier to manage
- They cover the most important user journeys
- You can validate your new Playwright setup quickly
- Gives your team confidence before tackling larger suites
Once your smoke tests run successfully in Playwright, expand to your full regression suite module by module.
Step 4: Convert Your Locators
Selenium uses By.id(), By.xpath(), By.cssSelector(). Playwright uses a locator() method but also introduces powerful new locators that are much more readable:
// Selenium — XPath locator
driver.findElement(By.xpath("//button[@id='submit']"));

// Playwright — same XPath still works
page.locator("//button[@id='submit']");

// Playwright — better: locate by visible text
page.getByText("Submit");

// Playwright — best: locate by role (most reliable)
page.getByRole(AriaRole.BUTTON, new Page.GetByRoleOptions().setName("Submit"));
When you migrate from Selenium to Playwright, try to replace XPath locators with getByRole, getByText, and getByLabel wherever possible. These are far less brittle and rarely break when UI changes.
Step 5: Handle Login and Authentication State
In Selenium, handling login across multiple tests was painful. You either logged in before every single test or managed cookies manually.
When you migrate from Selenium to Playwright, you can save authentication state once and reuse it across all tests:
// Save login state after first login
context.storageState(new BrowserContext.StorageStateOptions()
  .setPath(Paths.get("auth.json")));

// Reuse saved state in all other tests — no login needed!
Browser.NewContextOptions options = new Browser.NewContextOptions()
  .setStorageStatePath(Paths.get("auth.json"));
BrowserContext context = browser.newContext(options);
This is a massive time saver for any test suite with authentication requirements.
Step 6: Set Up Parallel Execution
One of the biggest wins when you migrate from Selenium to Playwright is how simple parallel execution becomes. Setting up Selenium Grid required complex infrastructure. In Playwright, just add this to your config:
export default {
  workers: 4, // Run 4 tests at the same time
  use: {
    headless: true,
  },
};
Four lines of code versus an entire Grid setup. That’s the difference.
Step 7: Integrate with CI/CD Pipeline
Once you migrate from Selenium to Playwright, integrating with your CI/CD pipeline is straightforward. If you use GitHub Actions, add this workflow file:
name: Playwright Tests
on: [push]
jobs:
  test:
    runs-on: ubuntu-latest
    steps:
      - uses: actions/checkout@v3
      - uses: actions/setup-node@v3
      - run: npm ci
      - run: npx playwright install --with-deps
      - run: npx playwright test
Playwright also integrates smoothly with Jenkins, GitLab CI, and Azure DevOps.
Common Mistakes to Avoid When You Migrate from Selenium to Playwright
From my hands-on experience in automation testing, here are the most common mistakes QA engineers make:
1. Migrating Everything at Once This creates chaos and confusion. Always migrate module by module, not all at once.
2. Keeping All Explicit Waits Playwright handles waits automatically. Keeping waitForTimeout() everywhere makes your tests unnecessarily slow.
3. Using Only XPath Locators XPath works in Playwright, but it breaks easily when UI changes. Switch to getByRole and getByText instead.
4. Not Using Trace Viewer When a test fails in CI, run npx playwright show-trace trace.zip to debug it visually. This is one of Playwright’s most powerful features — use it every time a test fails.
5. Skipping the Official Documentation The official Playwright docs are excellent and beginner-friendly. Spend 2-3 days reading them before starting your migration.
How Long Does It Take to Migrate from Selenium to Playwright?
| Test Suite Size | Estimated Time |
|---|---|
| Up to 50 test cases | 1–2 weeks |
| 100–200 test cases | 3–5 weeks |
| 500+ test cases | 2–3 months (migrate in phases) |
Internal Resources to Help You Further
If you are new to Playwright or still evaluating your options, check out these posts on this blog:
- Selenium vs Playwright — Which One Should You Choose? ← [link to your existing post]
- Top 20 Selenium Interview Questions & Answers 2026 ← [link to your existing post]
- How AI is Revolutionizing Automation Testing in 2026 ← [link to your existing post]
Final Thoughts on Migrating from Selenium to Playwright
Deciding to migrate from Selenium to Playwright is one of the best investments your QA team can make in 2026. The auto-wait feature, faster execution, built-in debugging tools, and simpler CI/CD integration make it completely worth the effort.
Start small with your smoke tests, learn the key differences, and migrate one module at a time. Within a few weeks of completing your migration from Selenium to Playwright, you will wonder why you waited so long.
Have questions about your specific migration scenario? Drop a comment below — I read every comment and will be happy to help! 😊
Written by Rajesh Shirke — Automation Testing Engineer with hands-on experience in Selenium and Playwright frameworks.
![Read more about the article 10 Beginner Python Automation Projects to Boost Your Resume [2025 Guide]](https://www.mrwhotheengineer.com/wp-content/uploads/2025/07/10-Beginner-Python-Automation-Projects-to-Boost-Your-Resume-2025-Guide-300x169.png)